Interior
How to prepare your property for an interior photoshoot
When I arrive for an interior shoot, I have about 10 seconds to gauge how much work lies ahead. Not regarding light or angles — I'll see those after. I'm gauging whether the owner has invested attention before the shoot. That separates good from exceptional.
First, define the goal. Photos for an Airbnb listing, for an agency sale, or for a personal archive — these are different tasks. For rental and sale the space needs to look neutral and inviting, so anyone can imagine themselves in it. The clearer the goal, the more precisely we stage the scene.
Cleaning is step zero. Windows are the priority — dirty glass absorbs light and creates a flat, lifeless tone. Floors, kitchen counters, bathroom — everything that will be in frame needs to be clean not just visually but in detail. The camera sees things the eye forgives.
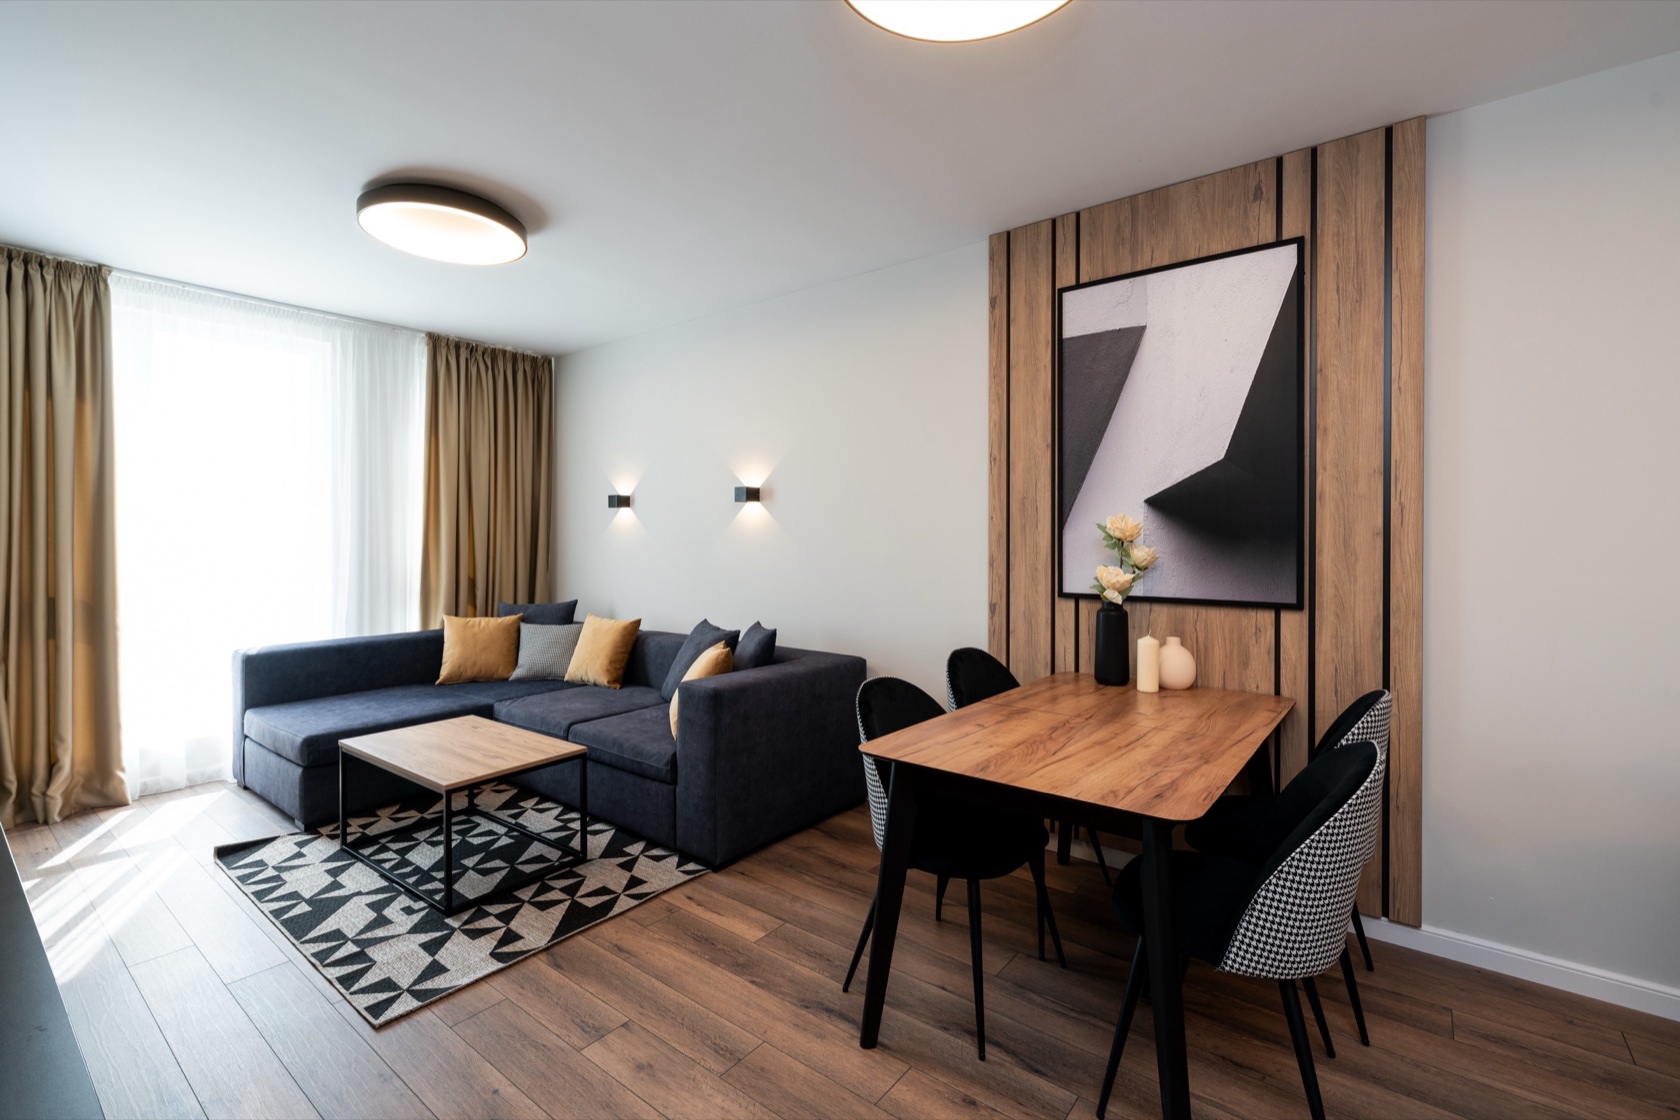
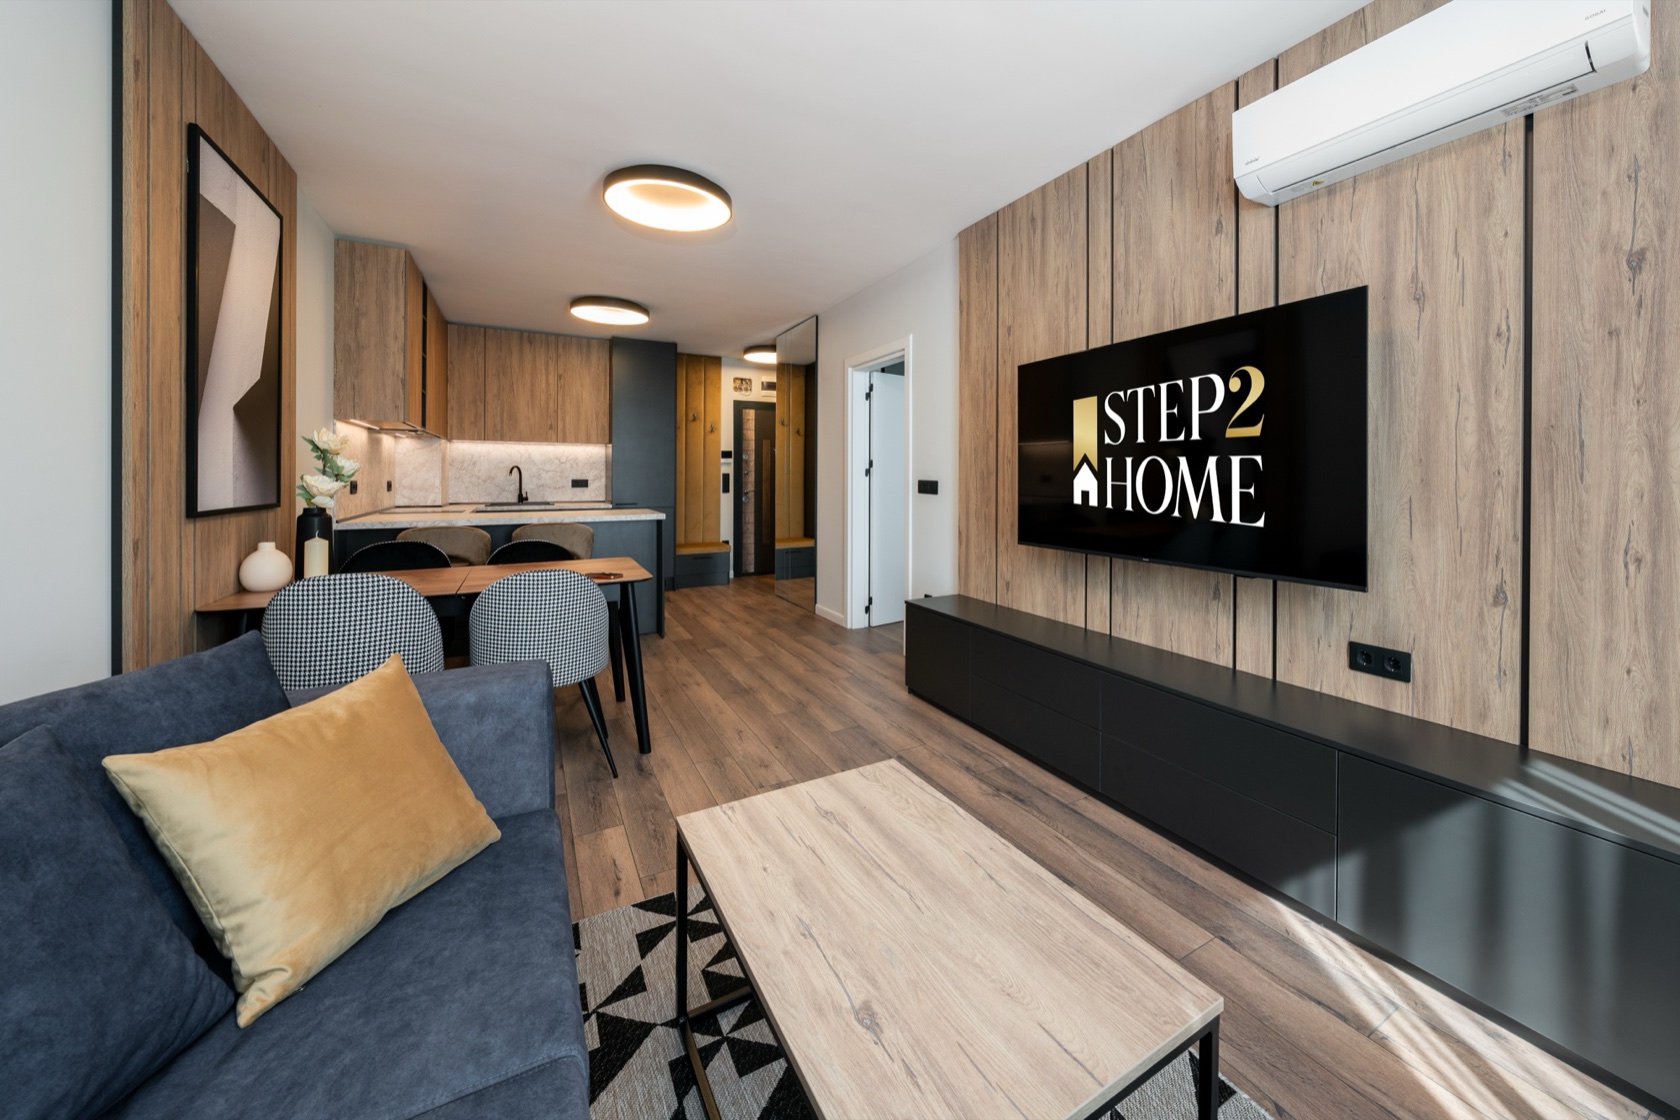
Remove personal items. Photos on the walls, medications on the counter, charging cables, bags on the floor, carelessly positioned rugs. All of this shows and all of it reminds you that the property is someone's home — not a space being sold or rented. If you're shooting for Airbnb or a property agency, the space needs to look like a stage.
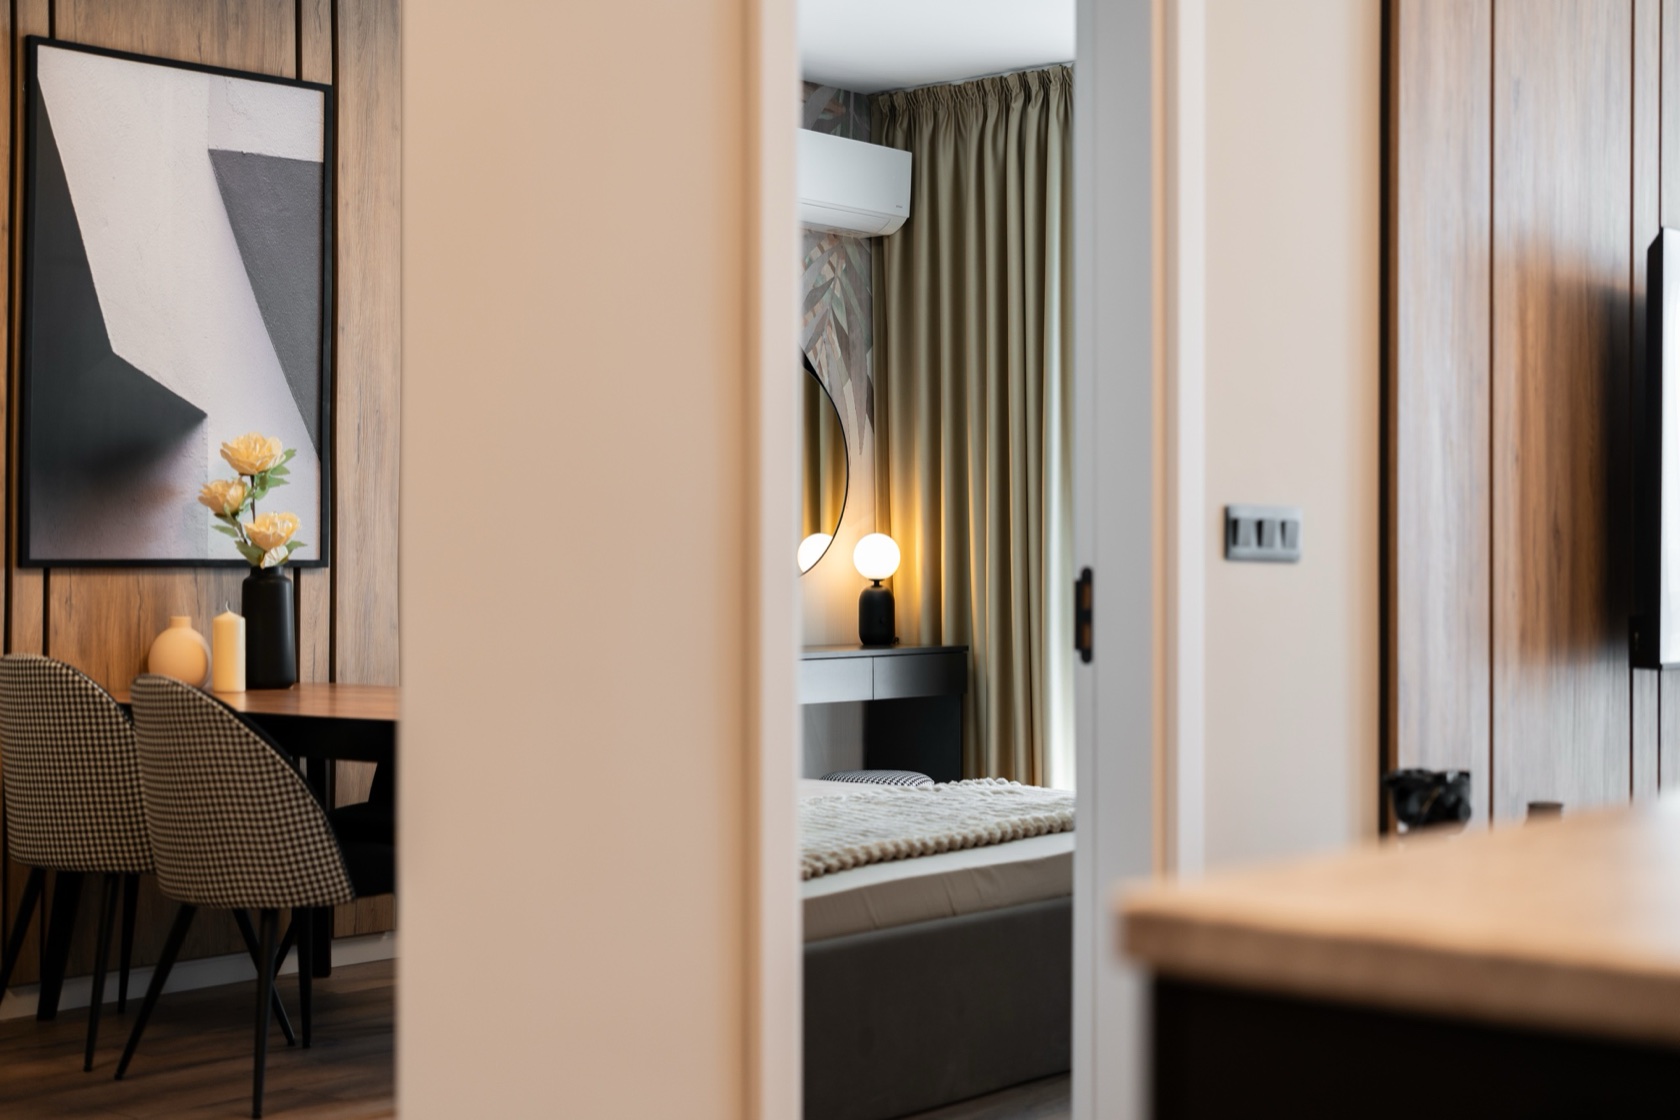
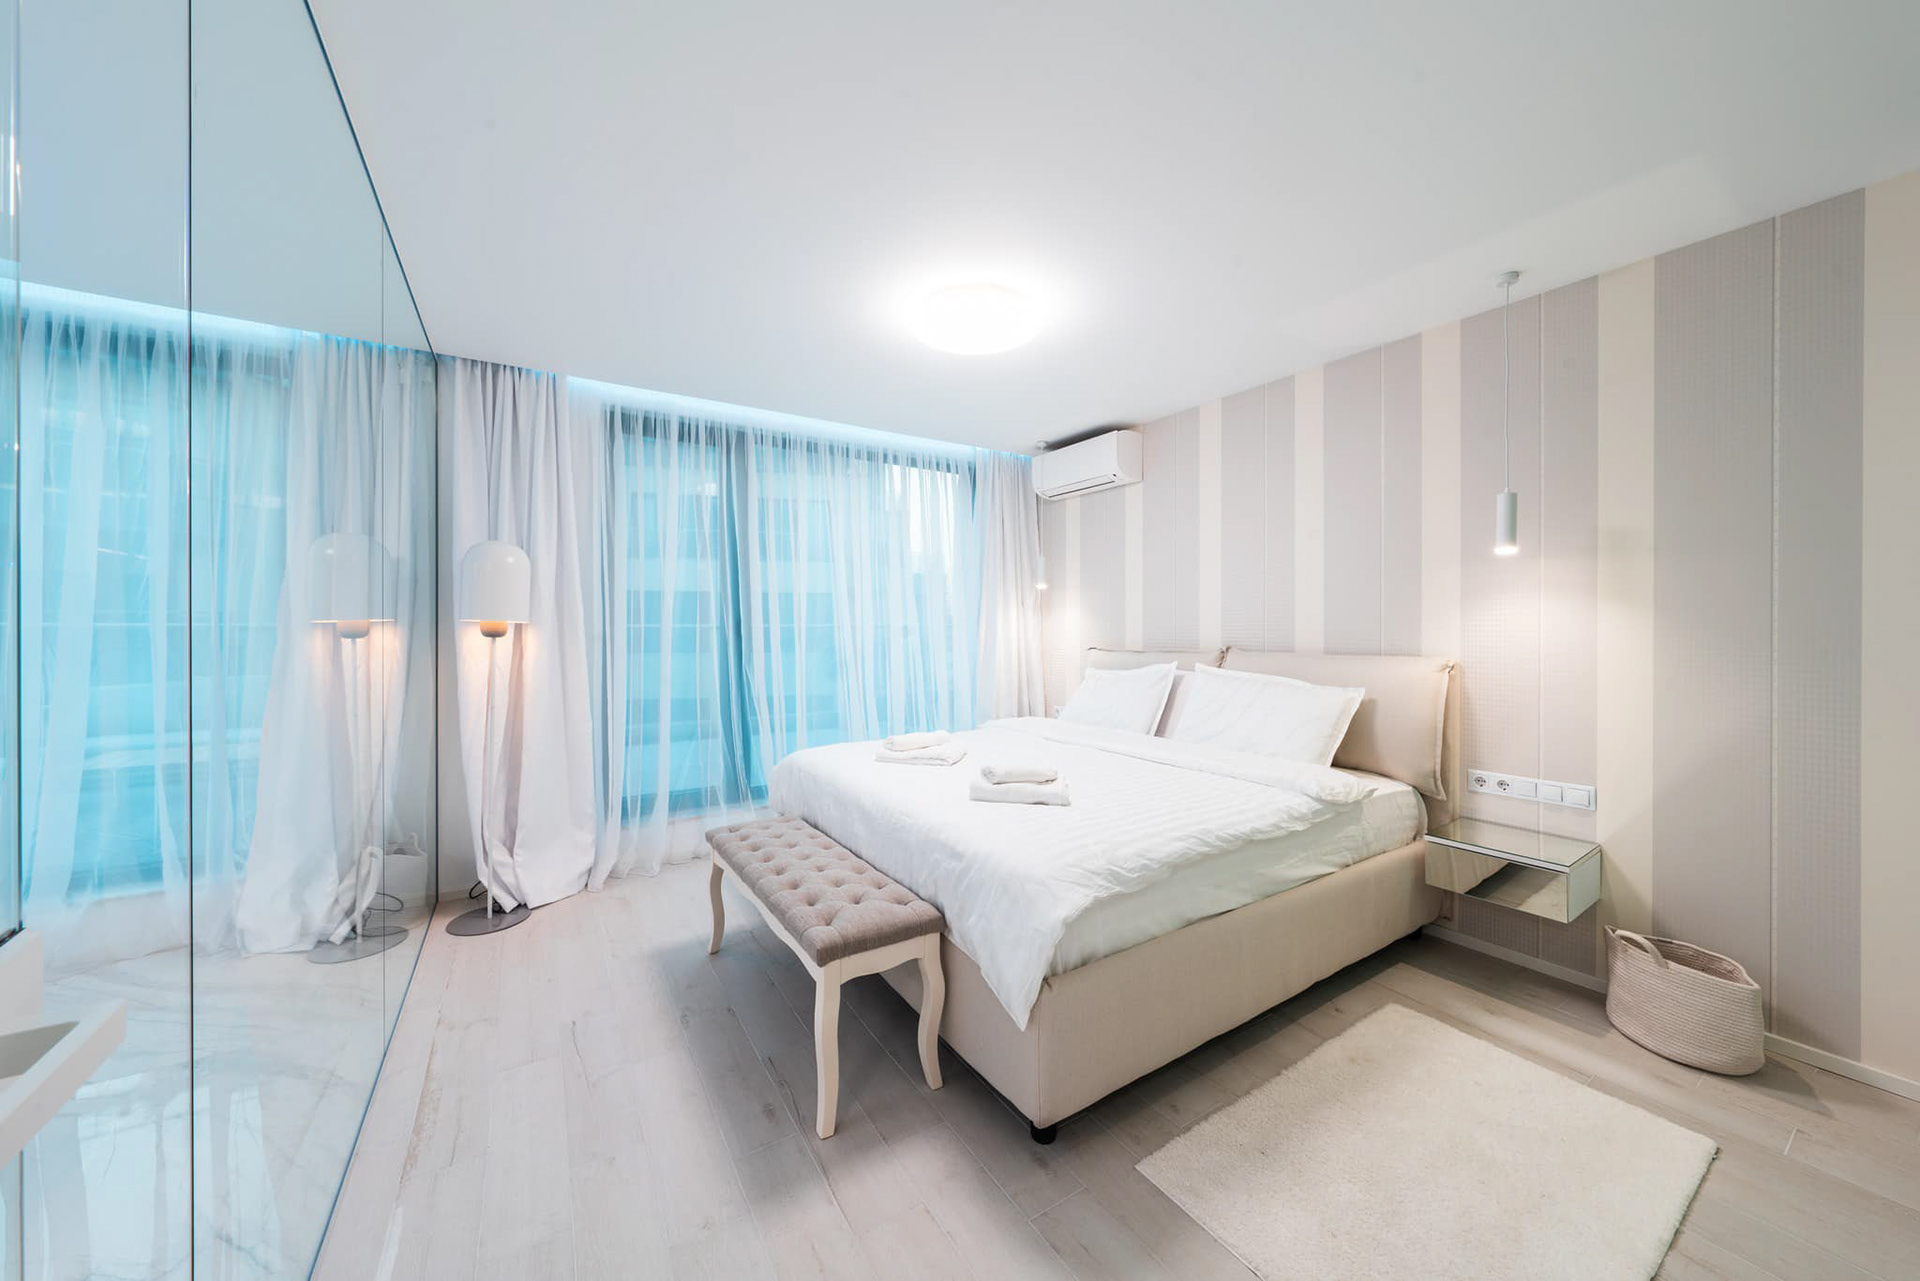
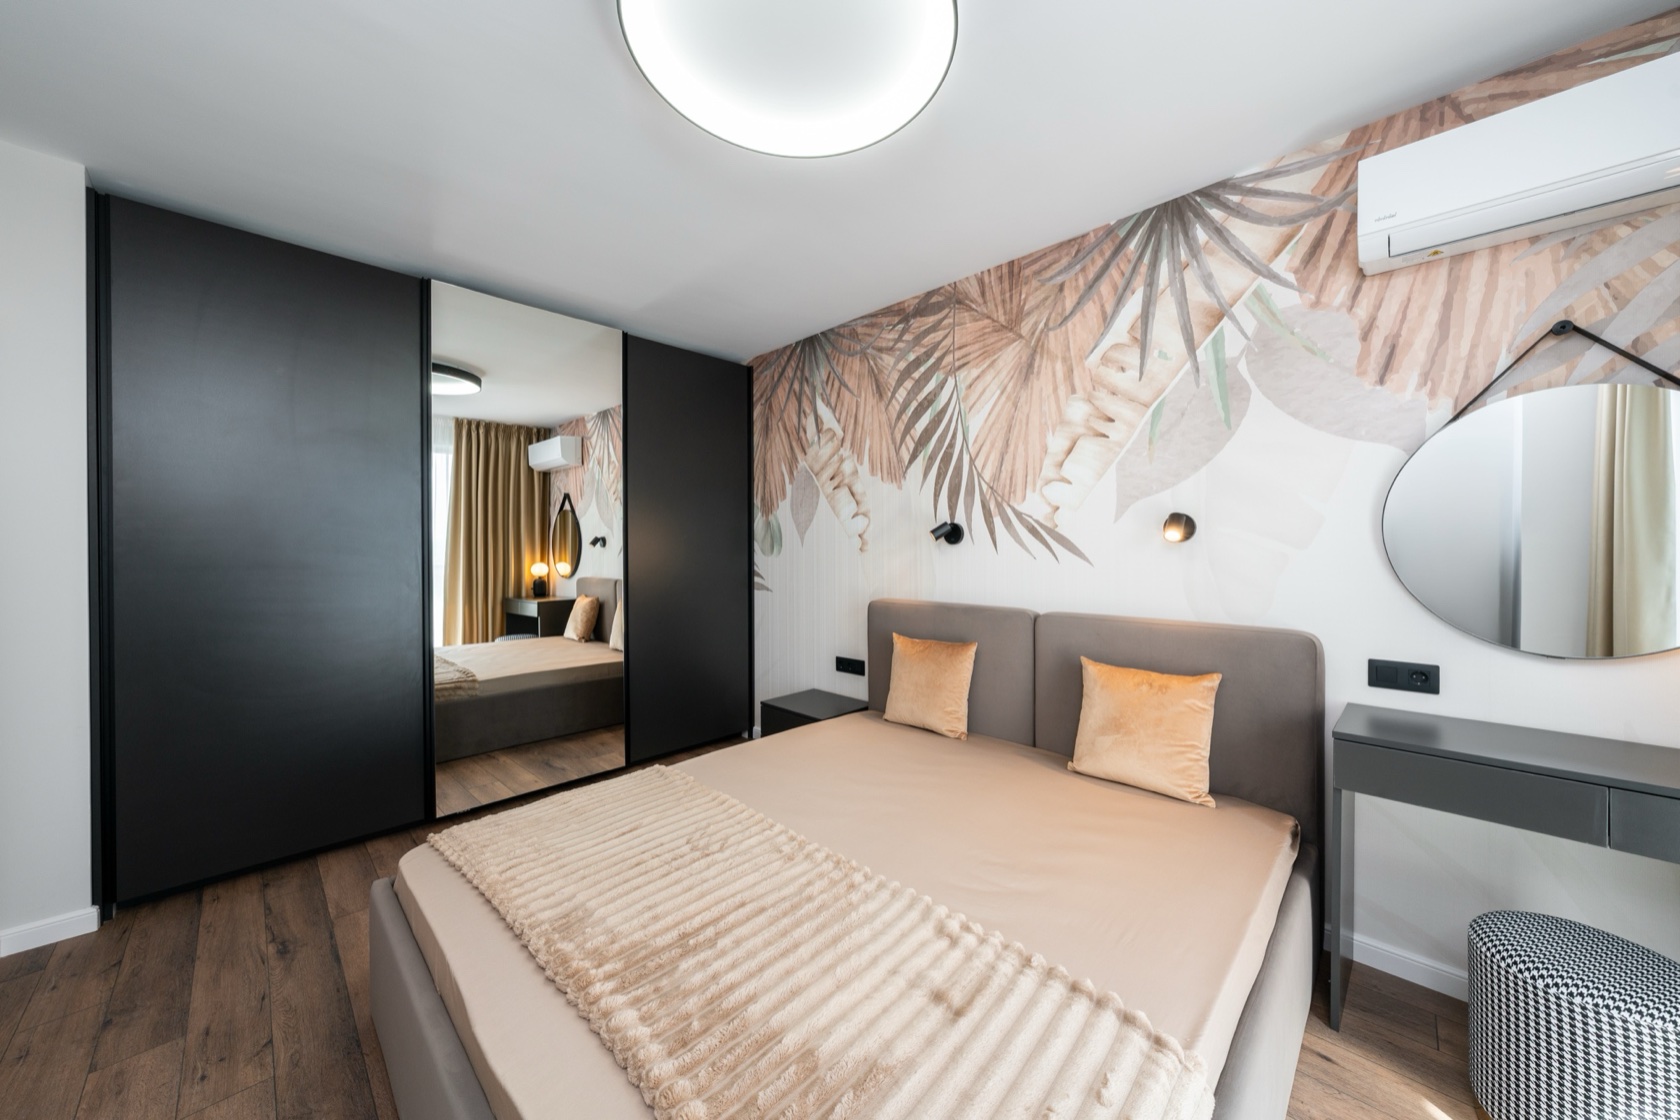
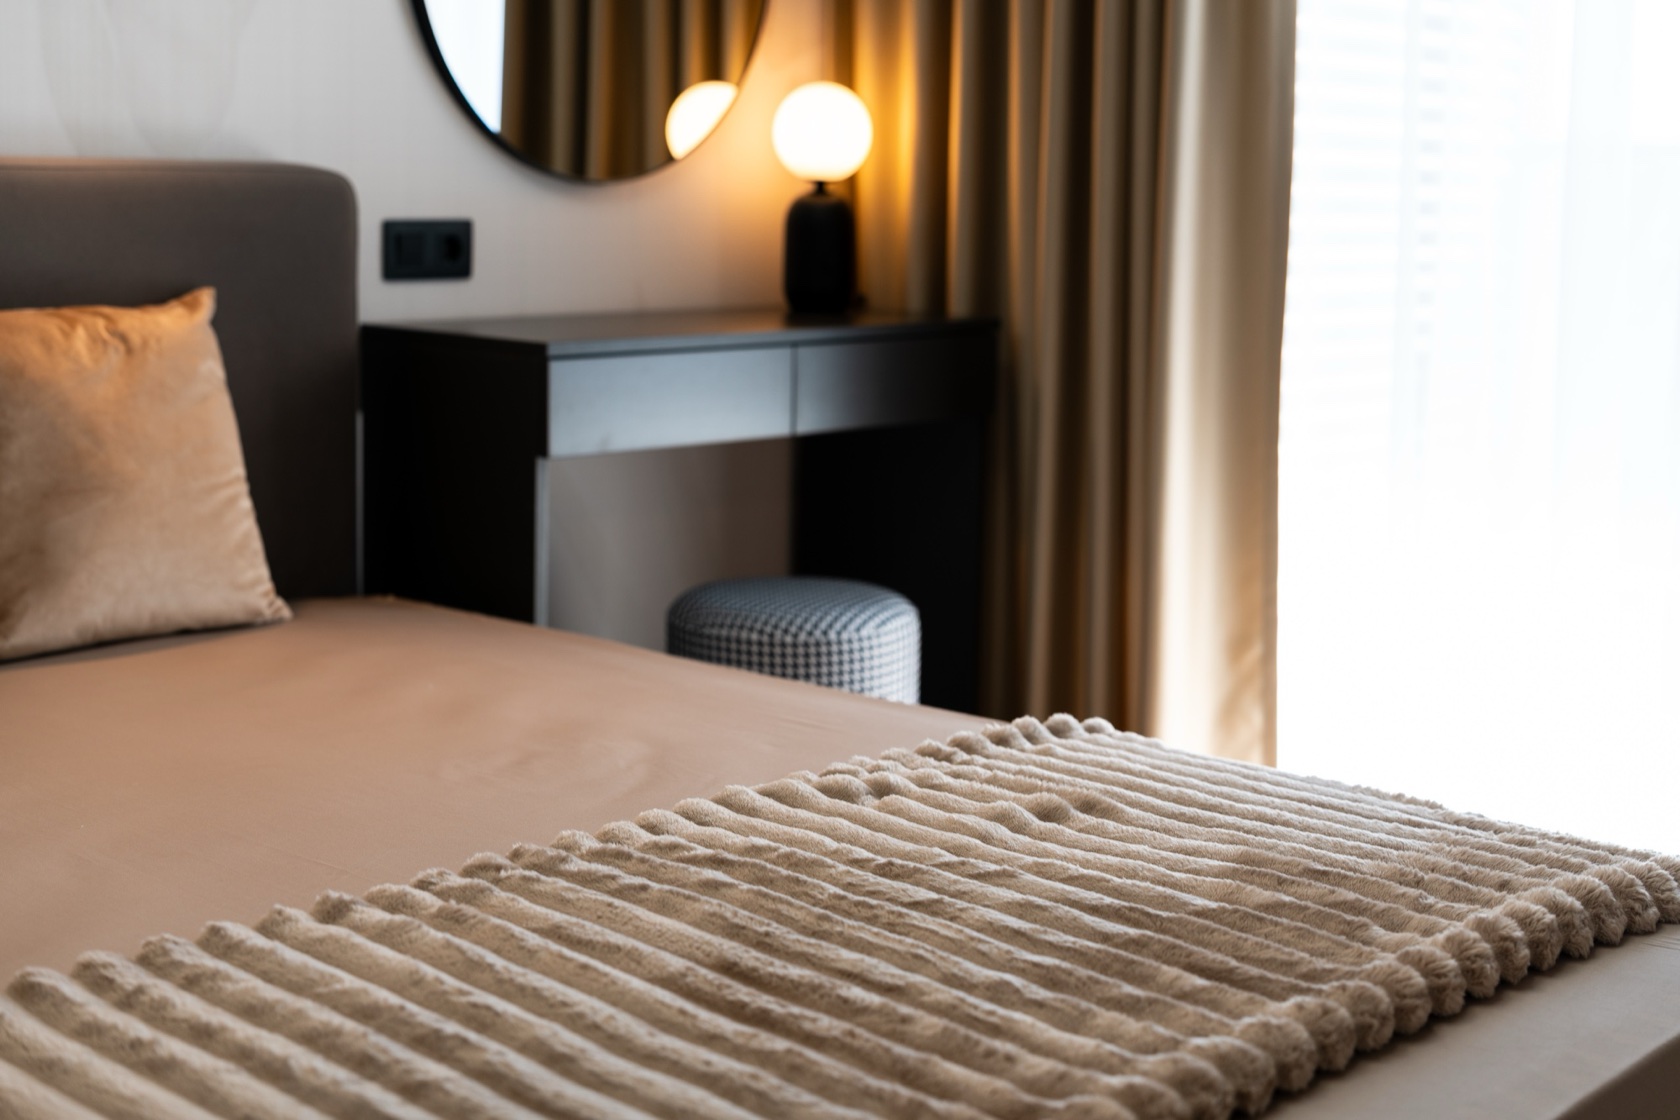
The bed is the heart of the bedroom. Crisp, wrinkle-free linens, symmetrically arranged pillows, a throw or cover folded at the foot for texture. That's the difference between 'someone sleeps here' and 'this is a space you'd want to stay in'.
The kitchen counter needs to breathe. Remove everything unnecessary — detergents, sponges, towels, small appliances. Leave a single styling detail: a fruit bowl, a board with utensils, a coffee cup beside the machine. Empty, clean surface looks more expensive than a cluttered one.
Plants work. One healthy, fresh-leafed plant in the frame adds life and scale. A wilted, drooping one does the opposite. If you have flowers, add them where the angle allows — the table, the sink, the windowsill.
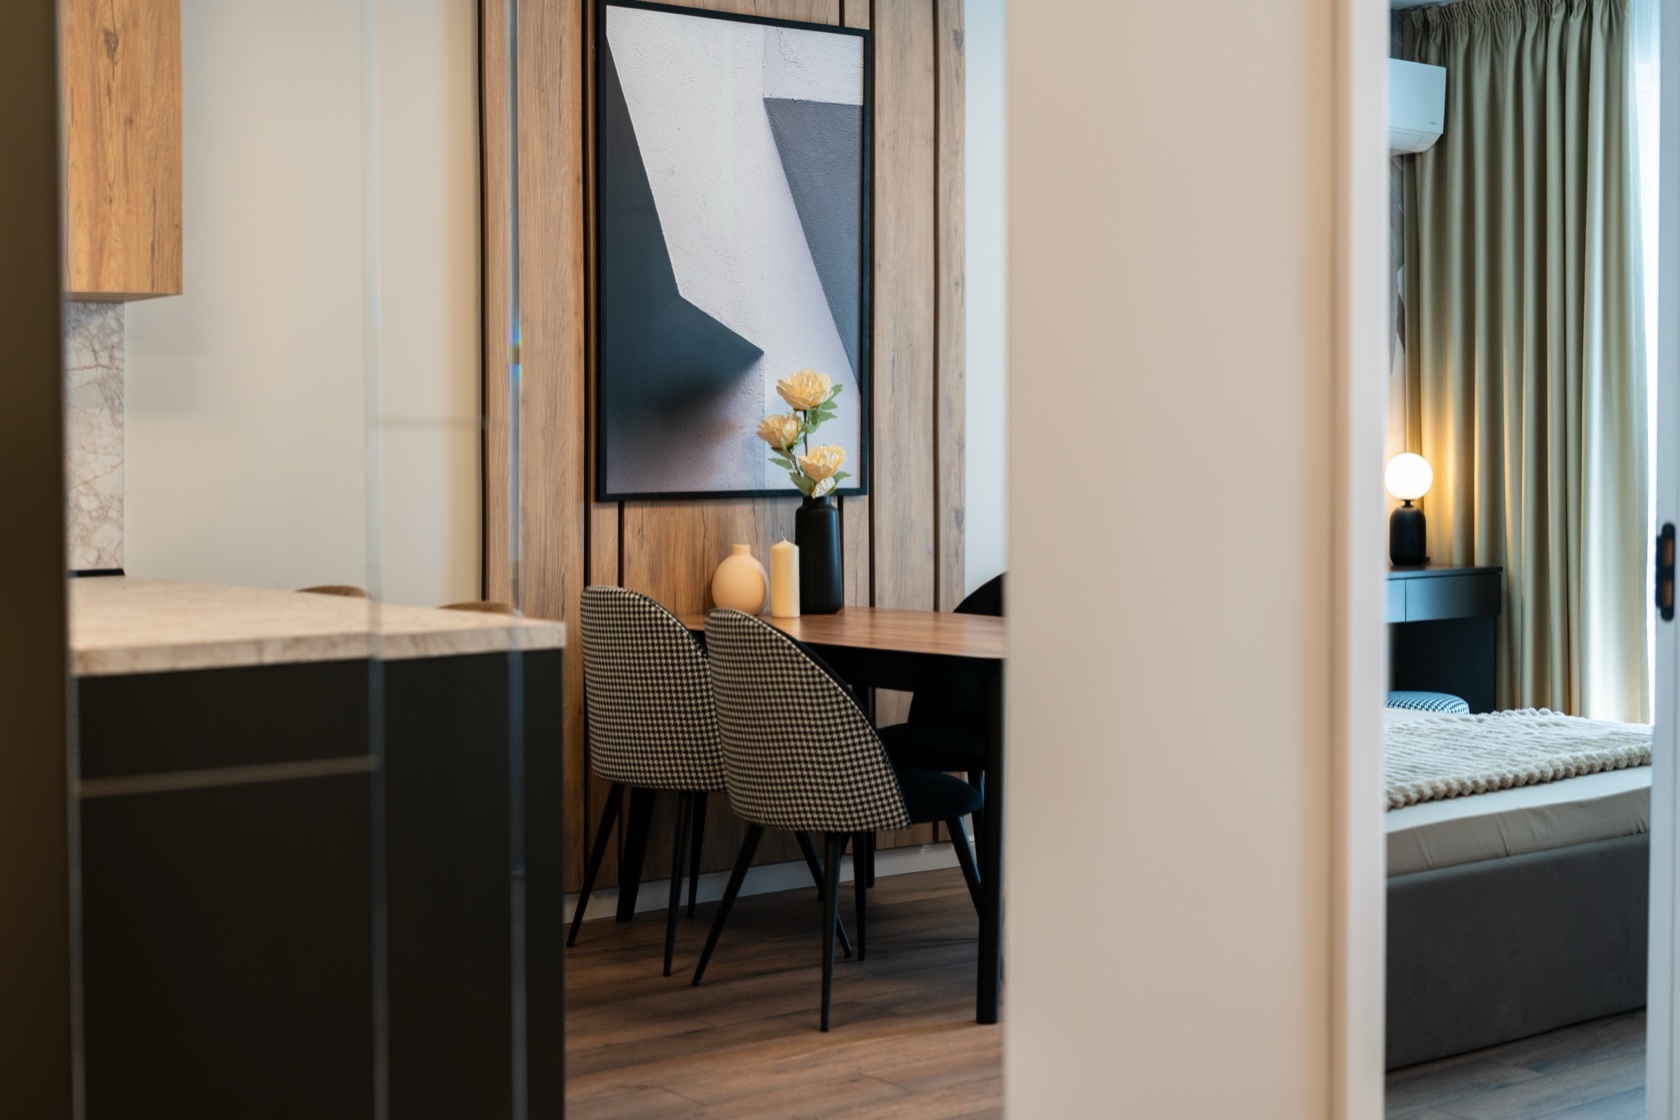
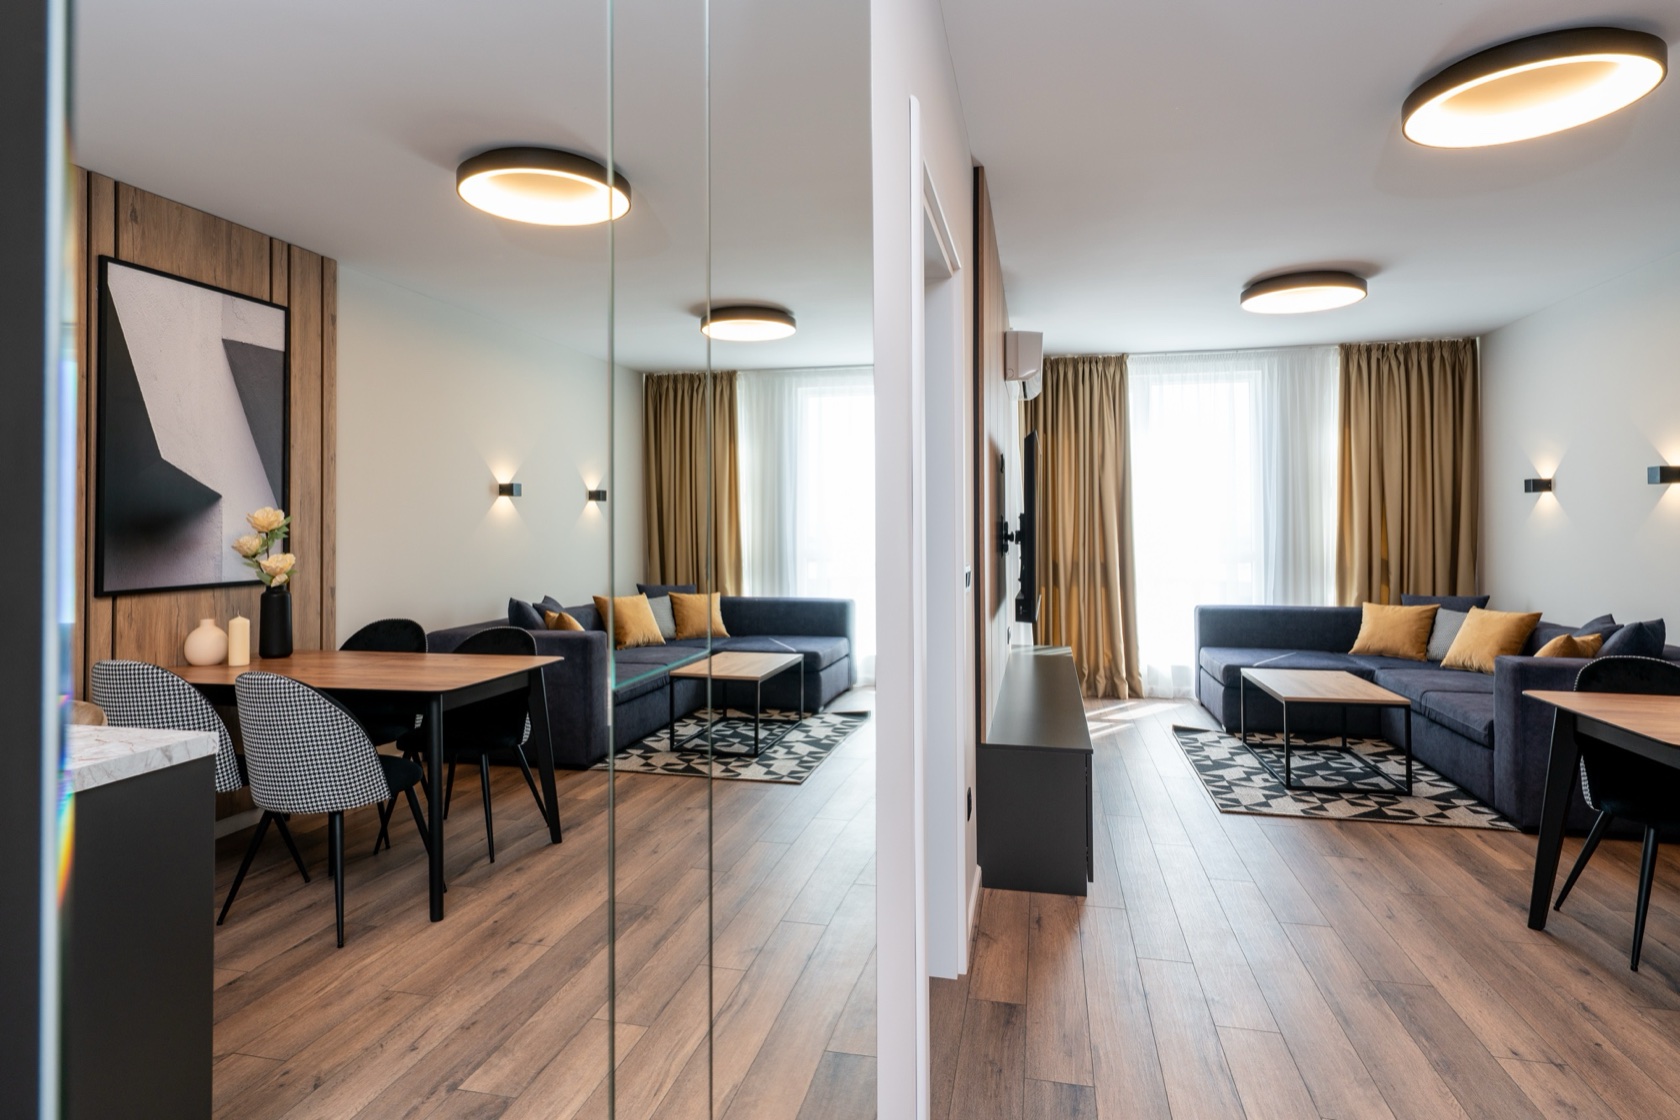
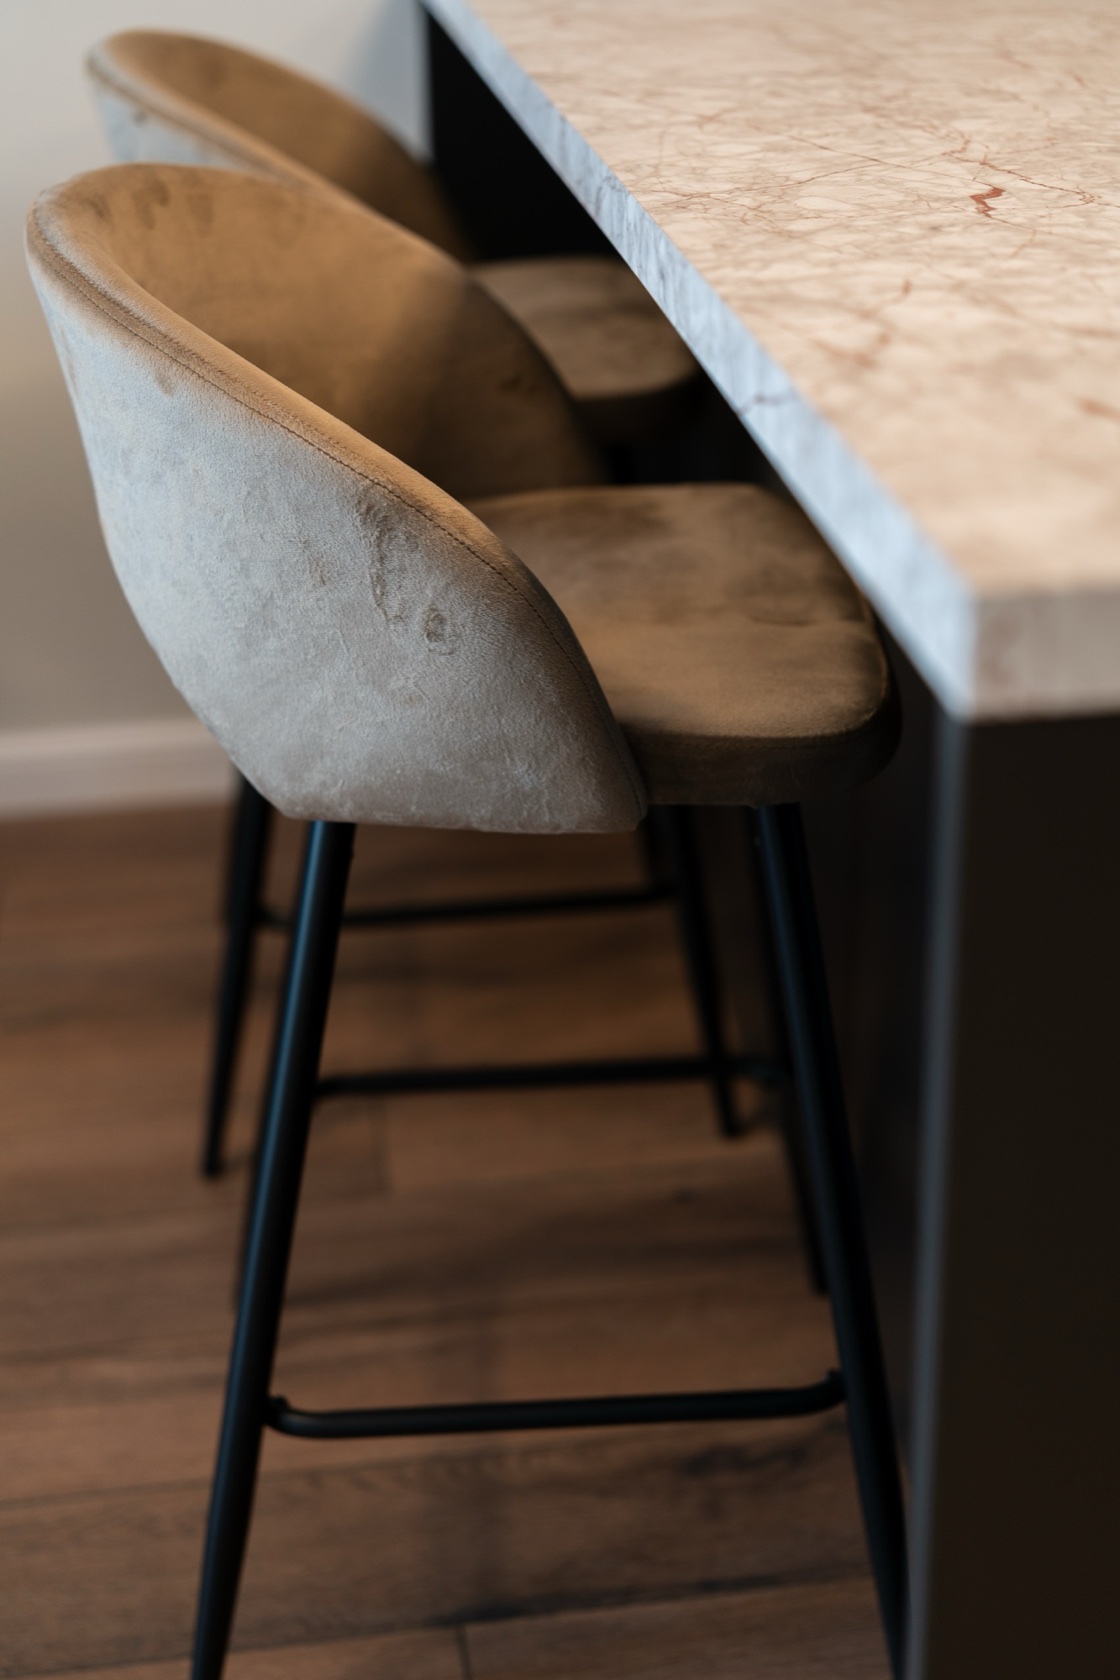
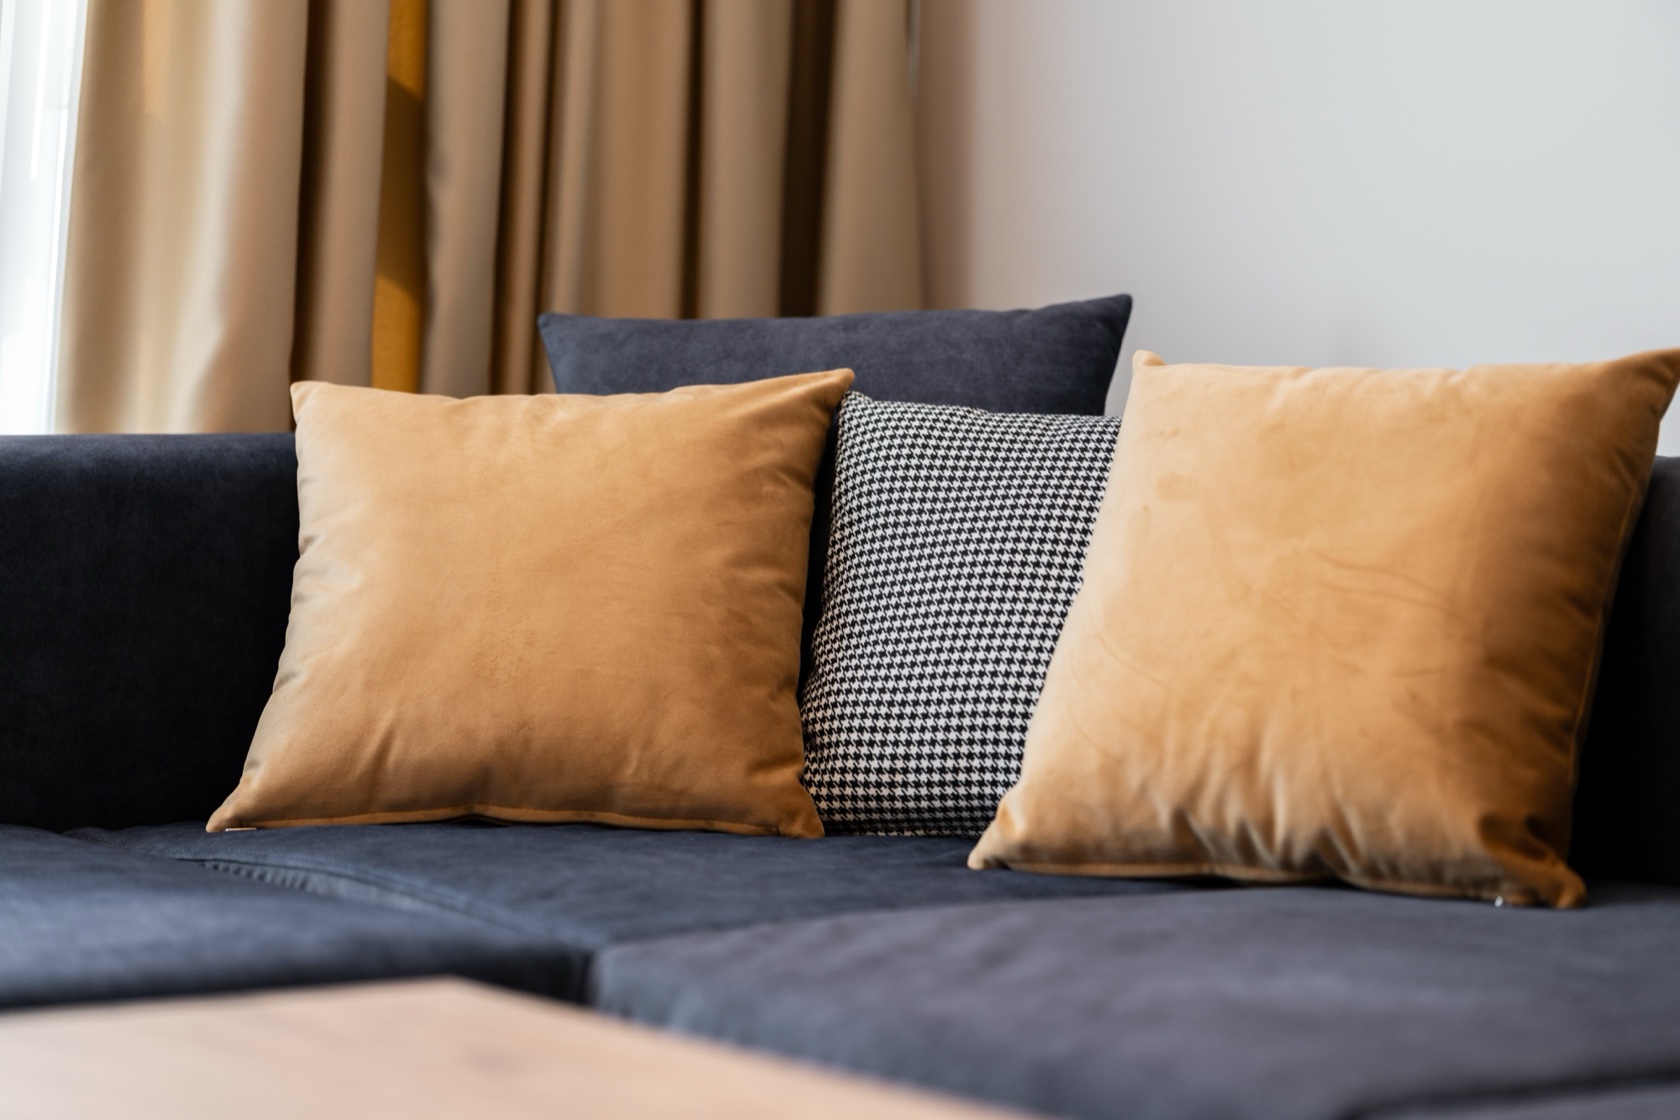
Soft accents add depth. Cushions in complementary colours, a throw, a textile runner. They bring warmth and layers a bare room lacks. Mind the quantity — three cushions on a sofa look good, seven look like a store. Balance is the key.
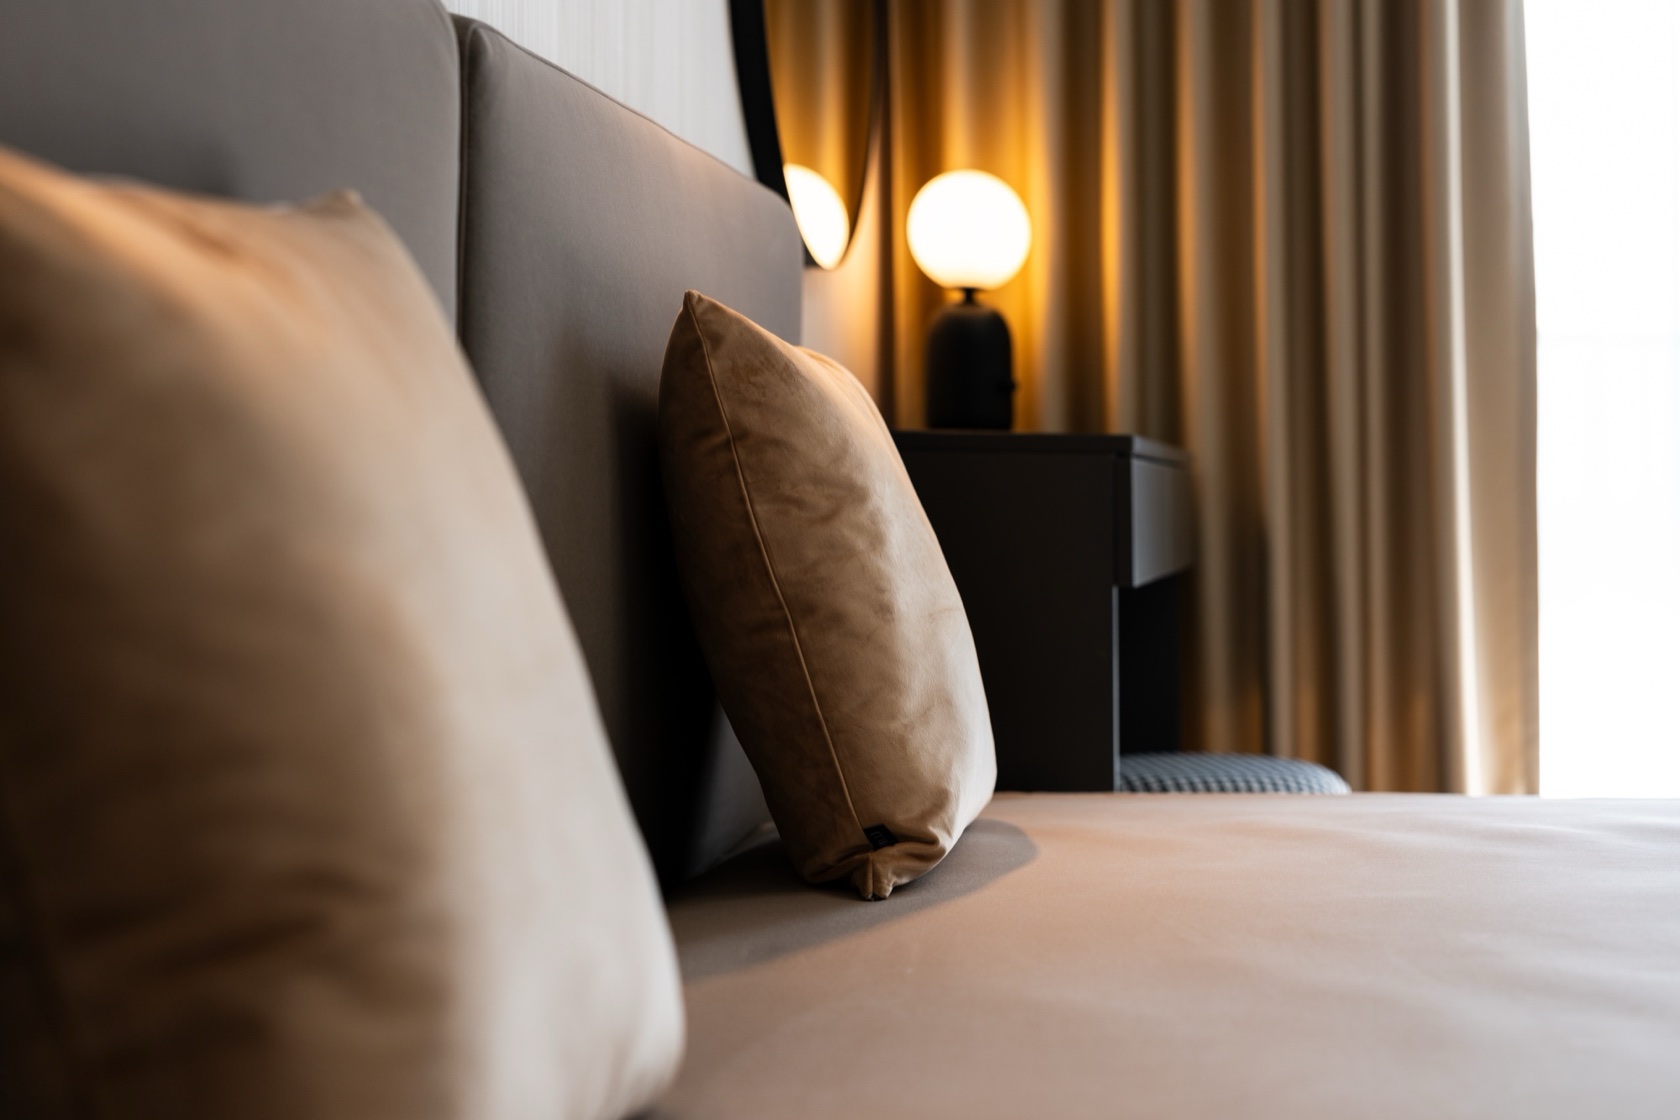
Light is critical. Ideally we shoot in natural light — so plan the shoot for morning or around midday when light is soft and diffuse. Avoid direct afternoon sunlight coming in from the side creating hard shadows. Close the blinds or curtains where the sun is too direct.
If the property has LED strip lighting or decorative fixtures — turn them on. These details add layers and warmth. But if fluorescent ceiling lights cast a greenish tone, turn them off — we'll work with window light only.
Mirrors require attention. First — clean them to a shine, because fingerprints and smudges show immediately. Second — think about what they reflect. A mirror facing a cluttered zone doubles the mess in frame. Positioned right, it expands the space and bounces light back.
Pay attention to small things. Towels in the bathroom — folded, not draped. The bread bin — closed. The dust trail behind the sofa. Cables behind the TV. The toilet lid — down. All of this shows up in the photos.
Finally — trust the photographer. When I arrive, I usually make small adjustments: moving an object, shifting a chair, adding a prop. Don't worry if you see me rearranging the space — it's a normal and necessary part of the process. We share the same goal: the photos should look exactly as good as the real space deserves.
Ready to plan?
See what the packages include and where the prices start.